Use this page for help setting up your WiFi 7 network, accessing or changing your network password, and connecting devices to it.
Set up your WiFi 7 Aginet network
Before beginning you'll need the Aginet app downloaded from your preferred app store and installed on your phone.
Step 1: Create a network in the Aginet app
- Open the Aginet app and log in with your TP-Link ID (you can sign up here).
- Tap Create a Network.
- Tap the QR code scanner and allow camera access.
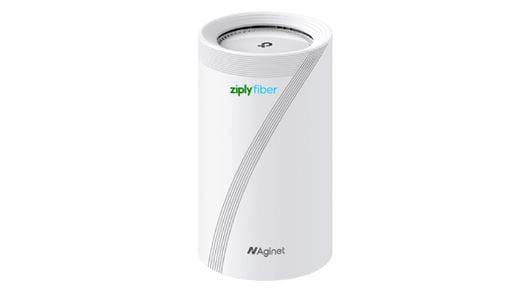
- Scan the QR code on the bottom of your HB810.
- Tap Set Up Device to continue.
Step 2: Connect your HB810 TP-Link to the internet
- Gather your HB810 router, power cord and Ethernet cable.
- Select Connect to a Modem (Router Mode).
- Tap the blue arrow to continue.
- Your ONT should already be powered on and online. Ignore any instructions to power it off. Tap the blue arrow.
- Plug one end of the Ethernet cable into the WAN port on your HB810 and the other end into the WAN port of your ONT. Tap the blue arrow.
- Power on your HB810 and wait for the light to blink blue.
- Tap the blue arrow to proceed to the next step.
Step 3: Connect to WiFi and create your password
Use one of the following methods to connect to WiFi:
- Scan the QR code on the bottom of the router, or
- Enter the SSID and default password printed on the bottom of the router
- Once connected, tap I have connected in the Aginet app.
- The app will search for your device.
- Set a device password (this is in addition to your WiFi password and will be used to log into the TP-Link HB810).
- If a Ziply Fiber Field Tech is assisting you, enter a password of your choice.
- Choose the room where your TP-Link HB810 is placed, scroll down, and tap Next.
- Leave the default settings to connect your HB810 to the internet, then scroll down and tap Next.
- Keep Band Steering enabled, then tap Next.
- You can choose to customize the following options or leave the default settings as they are:
- Set a custom WiFi name (SSID) and password for the 2.4 GHz and 5 GHz bands. You can also leave these as the default. Tap Next.
- Set a custom WiFi name (SSID) and password for the 6 GHz band. Or keep the default settings. Tap Next.
- Enable MLO Network. If you’re unsure, tap What’s MLO Network? to check if your devices support it. After finishing or skipping this step, tap Next.
Step 4: Reconnect to WiFi and complete setup
This step is required because you’re dropped from the network whenever the WiFi name (SSID) and password have changed.
- Tap Connect to reconnect to your new WiFi network.
- Tap Join when prompted. Your device will now connect to the HB810.
Your HB810 router is set up and ready to use! You can now manage it from the Aginet app.
Change or share network name and password
To access, change or share your network name or password, open the More menu on your Aginet WiFi app and tap WiFi Settings.
Connect a smartphone or tablet
- Locate the manufacturer’s QR code on the bottom of your WiFi 7 router.
- Using a phone or tablet with a camera that supports QR codes, scan the QR code to automatically connect your phone or tablet to the WiFi 7 network.