Known for its speed and reliability, fiber internet is quickly becoming the gold standard for home and business connectivity. But how does this cutting-edge technology actually make its way into your home?
Fiber networks: the big picture
Before we delve into the specifics of home installation, it's important to understand the broader network architecture that makes fiber internet possible.
Central offices: the heart of the network
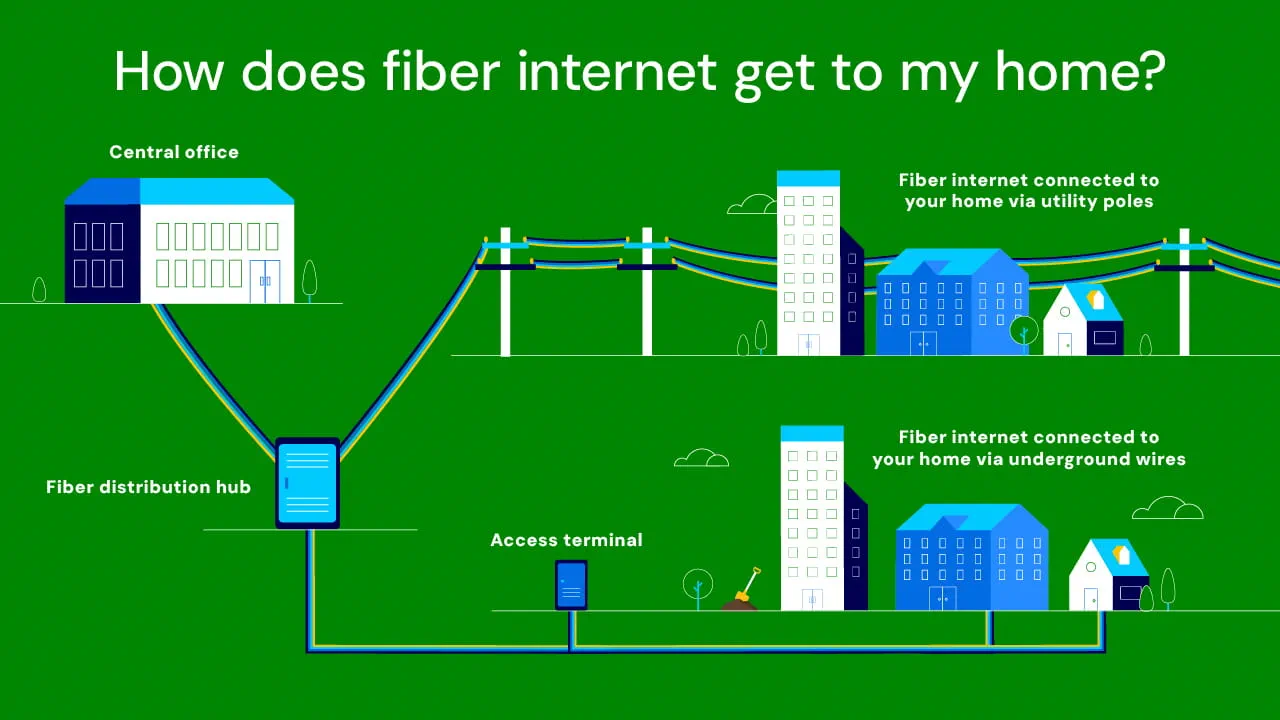
The journey of fiber internet begins at what's called a central office. These facilities are the nerve centers of the fiber network, strategically positioned across the provider's coverage area, or footprint. Inside these central offices, you'll find something called the Optical Line Terminal (OLT), a piece of equipment that generates a fiber-optic signal. This is where the magic begins: data is transformed into pulses of light that will travel at incredible speeds through fiber-optic cables.
Distribution hubs: the local connectors
From the central office, the fiber travels to distribution hubs. Think of these as local substations that serve specific neighborhoods or areas. You may have actually noticed them in your own neighborhood. They look like small utility boxes right on the side of the road. These hubs play a crucial role in efficiently distributing fiber-optic signals to individual homes and businesses in the vicinity.
The last mile: bringing fiber to your doorstep
The "last mile" is a term used in telecommunications to describe the final leg of the network that reaches individual subscribers in their homes. In the case of fiber internet, this last mile can take one of two forms: aerial or underground installation.
Aerial installation: the skyward approach
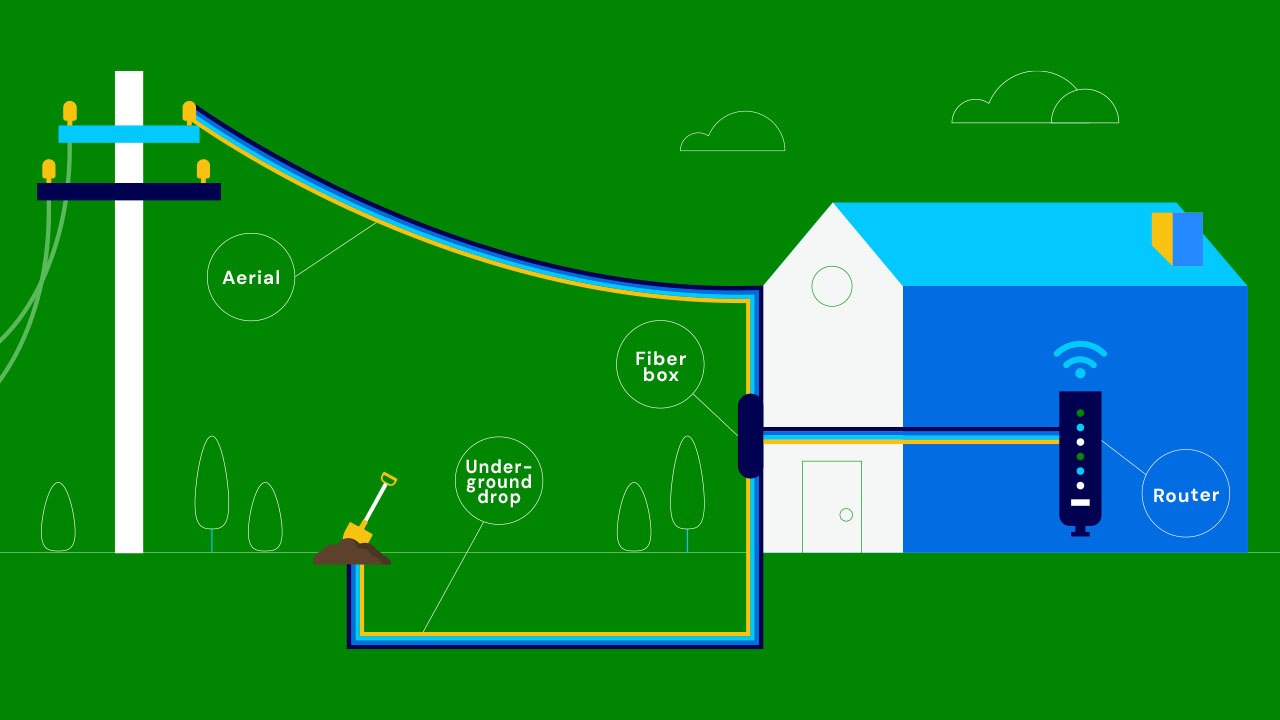
Aerial installation involves running fiber-optic cables along existing utility poles. This method is often preferred for several reasons:
The telecommunications industry began employing fiber over the subsequent decades for large-scale networking projects, like wavelength division muliplexing (don’t worry, that won’t be on the quiz). However, the costs were high for household use, and when the dot com bubble burst in 2001, the fiber industry took a hit.
- Cost-effectiveness: It's generally less expensive to attach a fiber wire to the poles than installing it underground.
- Ease of installation: Utilizing existing infrastructure simplifies the process.
- Accessibility: It's easier to access for maintenance and repairs.
If poles are available and the city or town grants the fiber-optic internet service provider the permit to use the poles, then this method is the easiest option.
Underground installation: the hidden path
When fiber lines can’t be attached to the utility poles, providers opt for underground installation. This is more costly but comes with some benefits:
- Aesthetics: It maintains a cleaner look in the neighborhood.
- Protection: Underground cables are shielded from weather conditions and potential damage from above-ground hazards.
- Long-term reliability: Once installed, underground fiber is less likely to require frequent maintenance.
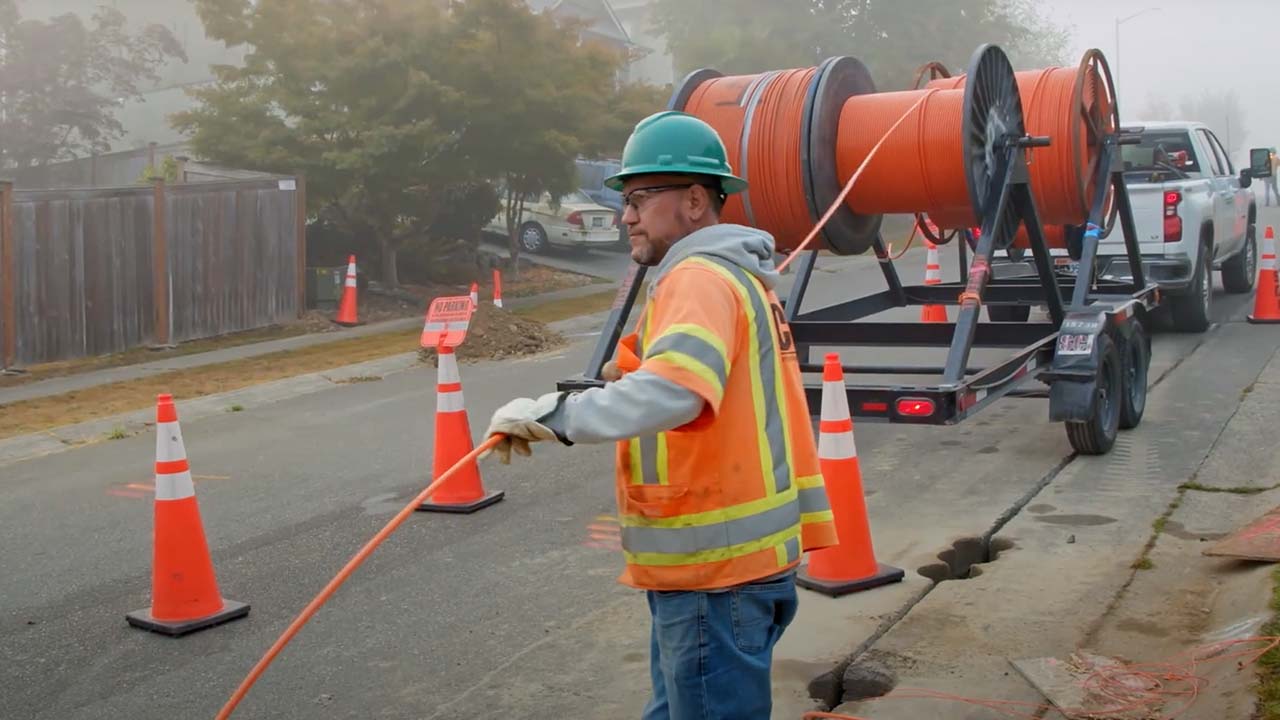
While underground installation is more involved, new methods, like microtrenching, are gaining popularity. Microtrenching involves making a thin, shallow cut on the side of the road, which is less invasive, less expensive and less messy than traditional underground installation.
The choice between aerial and underground installation often depends on existing infrastructure, local regulations and specific neighborhood characteristics.
Pre-installation: preparing your property
When it's time to bring fiber internet into your home, Ziply Fiber follows a meticulous process to ensure a smooth and effective installation. Here's what you can expect:
1. Pre-installation consultation
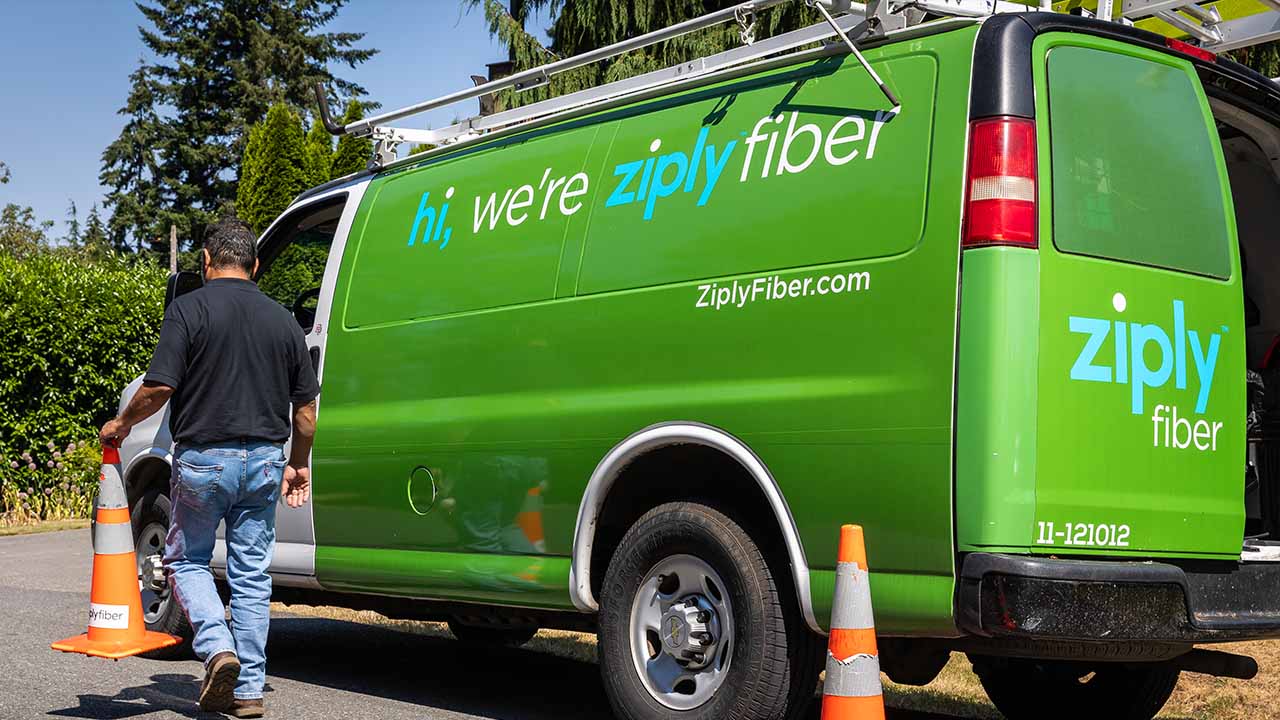
Before installation day, a Ziply Fiber technician will contact you. This initial consultation serves several purposes:
- Discuss the services you've ordered
- Assess your home's structure and existing wiring
- Plan the best route for fiber installation
- Address any questions or concerns you might have
Note that if you aren’t eligible for an aerial connection from the utility poles to your home, your installation may require an extra step of connecting the wire from the street to your home by burying it in your yard. This will involve an assessment of your property to check for other underground utilities and an additional appointment to bury the service wire in a small trench on your property.
2. ONT placement: the gateway to fiber
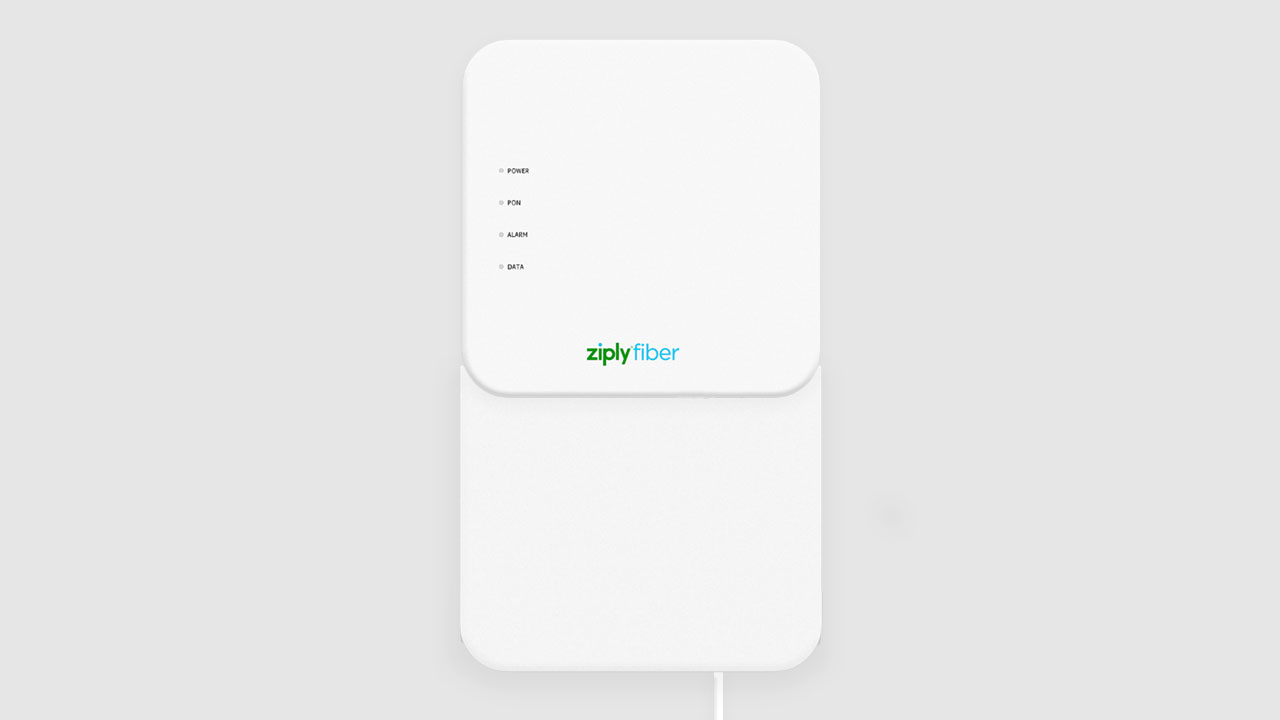
Once fiber is connected to your property, it’s time to turn it on. A crucial component of your fiber internet setup is the Optical Network Terminal (ONT). This device, which is like a modem, serves as the bridge between the fiber-optic network and your home network, converting the light signals from the fiber into electrical signals that your devices can use.
Key considerations for ONT placement include:
- Proximity to a power source
- Central location in the home for optimal signal distribution
- Protection from extreme temperatures and physical damage
Contrary to what some might expect, the ONT doesn't always need to be outside. In many cases, especially in new installations, providers prefer to place the ONT inside the home. This indoor placement can offer better protection for the device and easier access for any future maintenance.
3. Fiber-optic installation
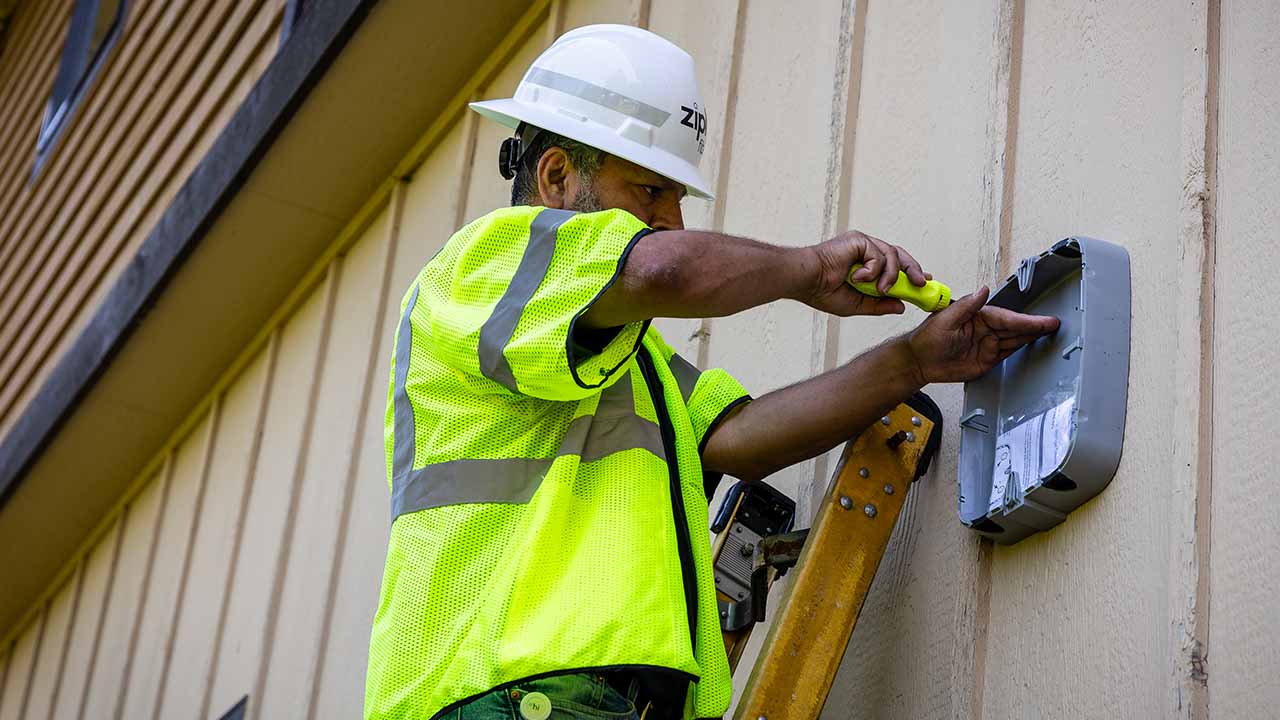
Now it’s time to bring the fiber-optic cable from the nearest access point — either a utility pole for aerial installations or an underground access point — into your home via the ONT. The technician will drill a small hole in your home's exterior to feed the fiber cable through, ensuring it's properly sealed to prevent any weather-related issues.
4. Router placement: optimizing your WiFi
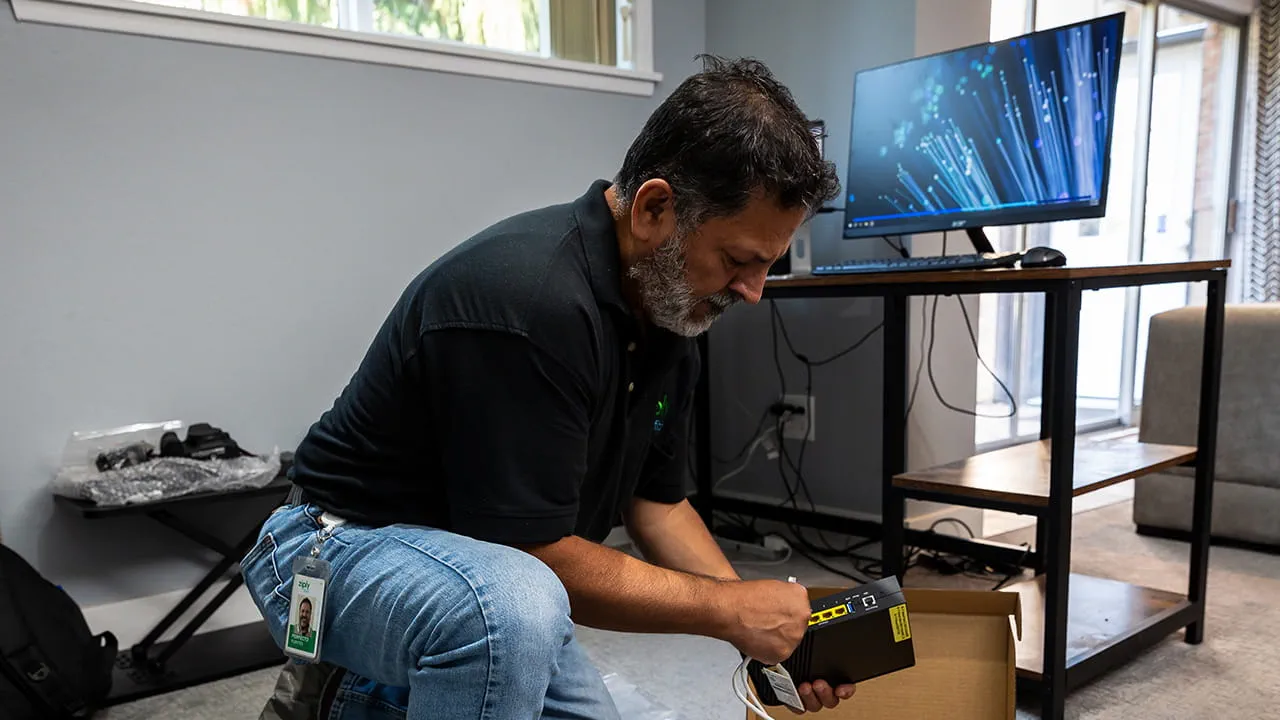
- Proximity to ONT
- Central location to maximize coverage
- Avoiding obstacles that could interfere with the signal (like large metal objects or thick walls)
5. WiFi extenders: boosting your signal
In larger homes or buildings with multiple floors, a single router might not provide adequate coverage everywhere. In these cases, WiFi extenders can be a game-changer. These devices help to amplify and distribute the WiFi signal to areas that the main router might struggle to reach effectively.
6. Speed testing: ensuring peak performance
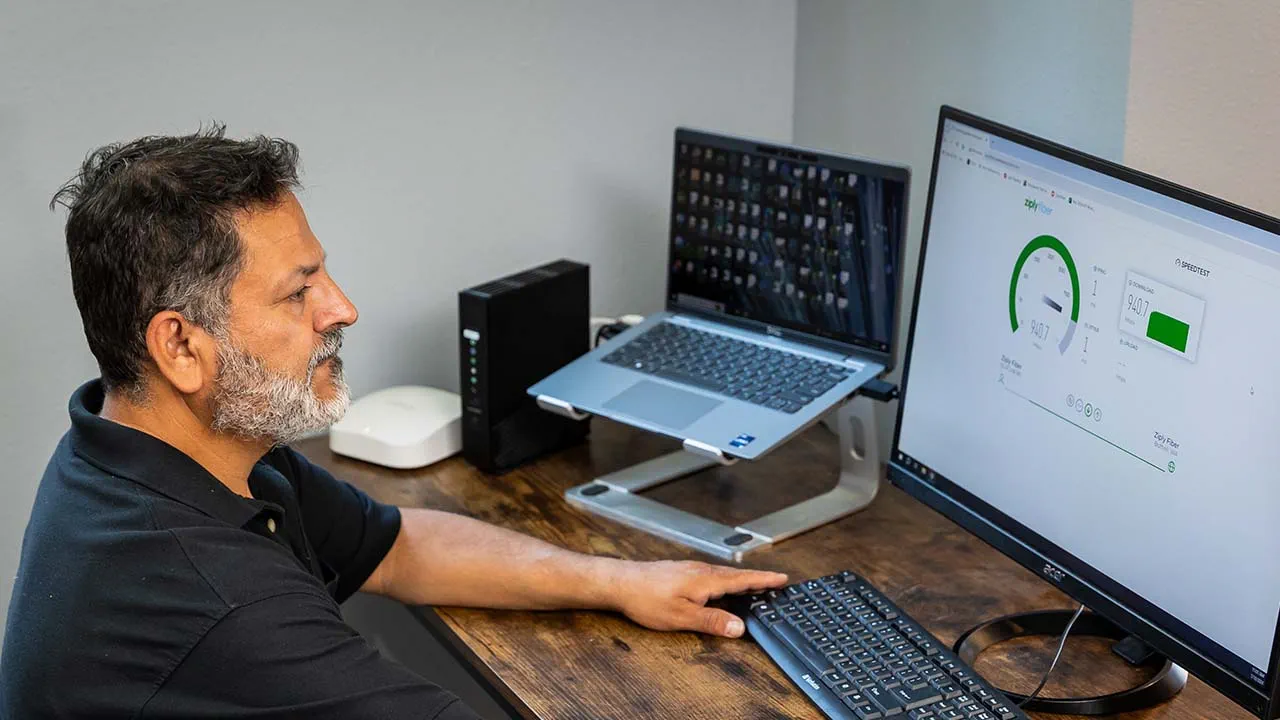
After the installation is complete, the technician will conduct a speed test to ensure you're getting the speeds you're paying for. These tests are typically performed at both the ONT and the router to verify that the provisioned speed is being delivered.
It's important to note that while connections via Ethernet cable should achieve speeds very close to your provisioned speed, WiFi speeds may be somewhat lower due to various factors like distance from the router and potential interference.
The fiber future
Fiber internet installation is a complex process that requires expertise and precision. Note that while you may be able to install your own router, installing your own fiber-optic connection is a job for the pros. From the central office to your living room, every step is crucial in ensuring you receive the high-speed, reliable internet connection that fiber technology promises.
With providers like Ziply Fiber leading the charge, fiber internet is becoming increasingly accessible, bringing lightning-fast speeds and unparalleled reliability to homes and businesses. As we continue to rely more heavily on digital connectivity for work, education, entertainment and beyond, fiber internet stands ready to meet and exceed our growing needs.
By understanding the installation process and following best practices for optimizing your setup, you can ensure that you're getting the most out of your fiber internet connection. Welcome to the future of internet connectivity — it's fast, it's reliable and it's here to stay.


